
Completed projects
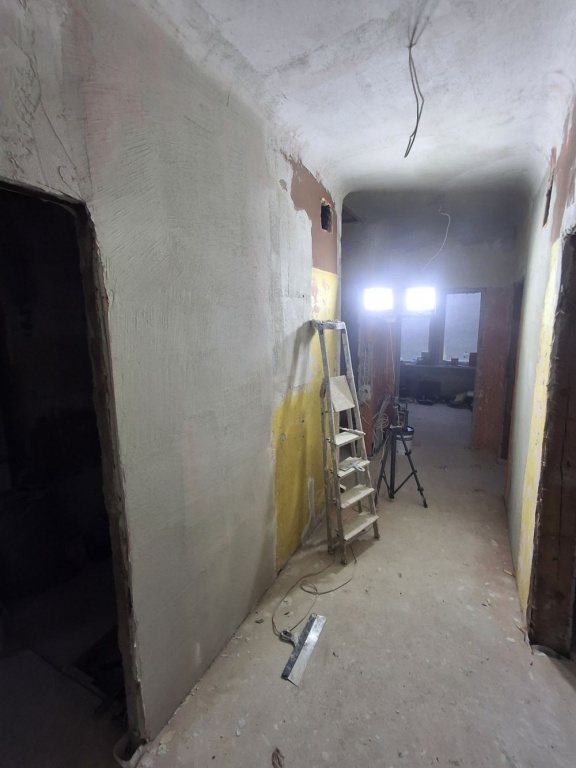
Complete House Renovation – Before and After
From wall preparation and drywall construction to finished interior spaces.
Renovation Photo Gallery
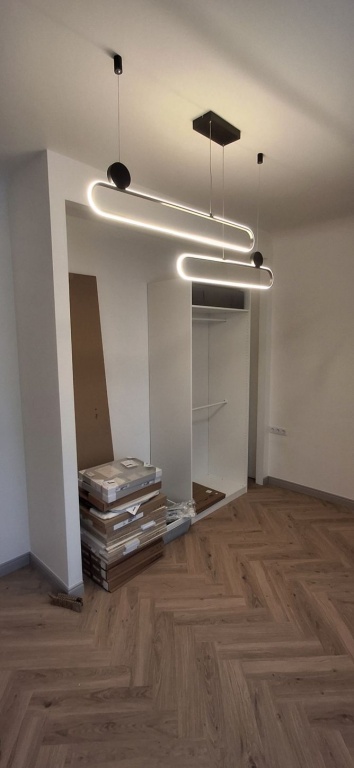
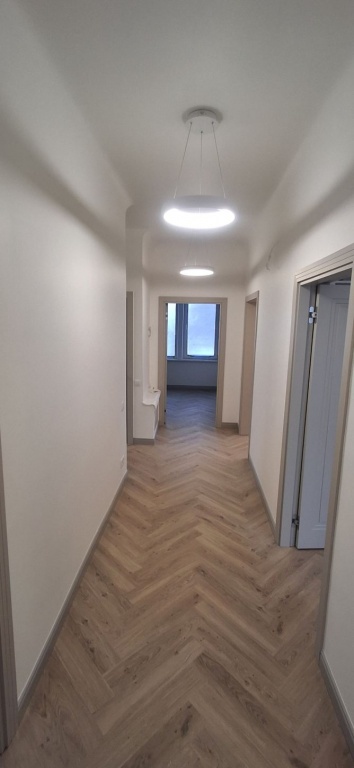
Work Completed
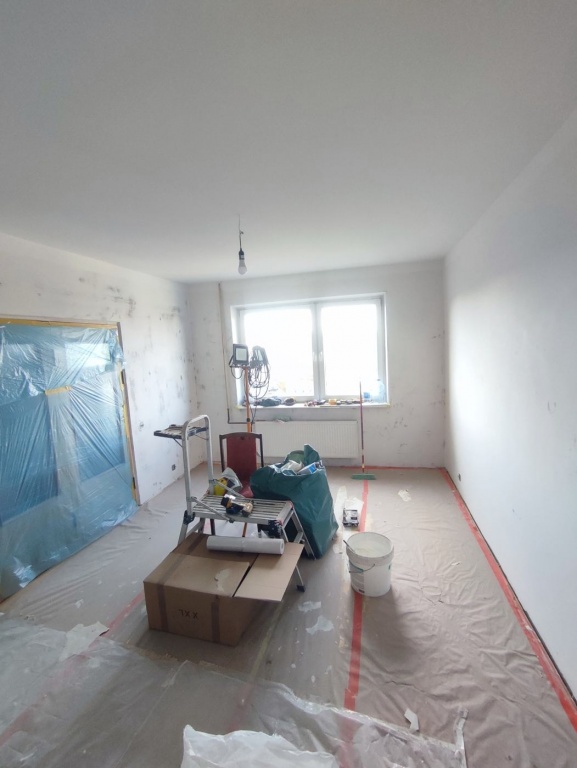
01.Wall and Ceiling Finishing
- Surface preparation and wall plastering
- Wall reinforcement with fibreglass mesh
- Wall and ceiling levelling, filling and sanding
- Priming and painting
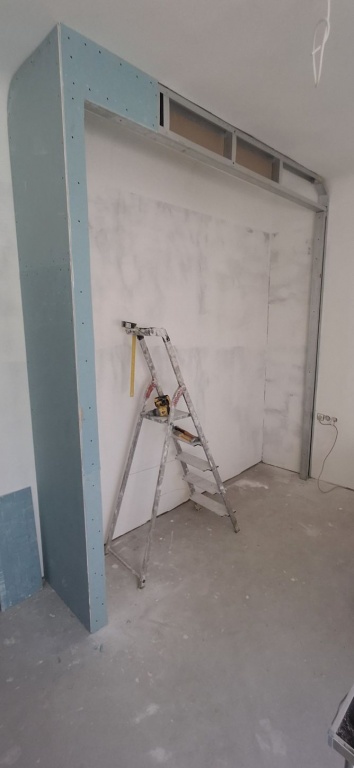
02.Drywall Construction
- Installation of metal stud framing
- Construction of drywall structures and recesses
- Joint treatment and surface preparation for finishing
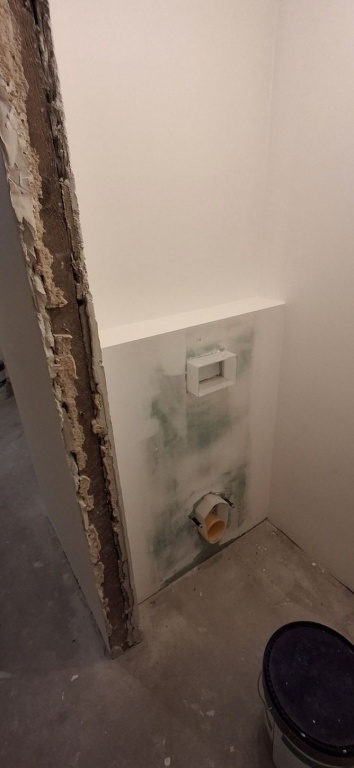
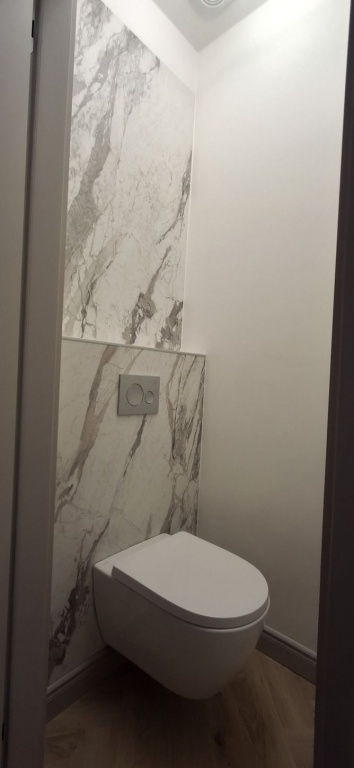
03.Bathroom Finishing
- Enclosing the concealed toilet installation
- Installation of decorative marble-effect wall panels
- Installation of a wall-hung toilet and flush plate
04.Flooring and Final Finishes
- Installation of herringbone-pattern flooring
- Skirting board and doorway finishing
- Installation of ceiling light fixtures
The Finished Result
The house interior now features a bright, contemporary finish: smooth painted walls, herringbone-pattern flooring, modern lighting and a bathroom with marble-effect wall panels. The photos show the renovation process and completed work.
Bathroom Renovation – Before and After
From wall levelling and waterproofing to large-format tiling and installed bathroom fixtures.
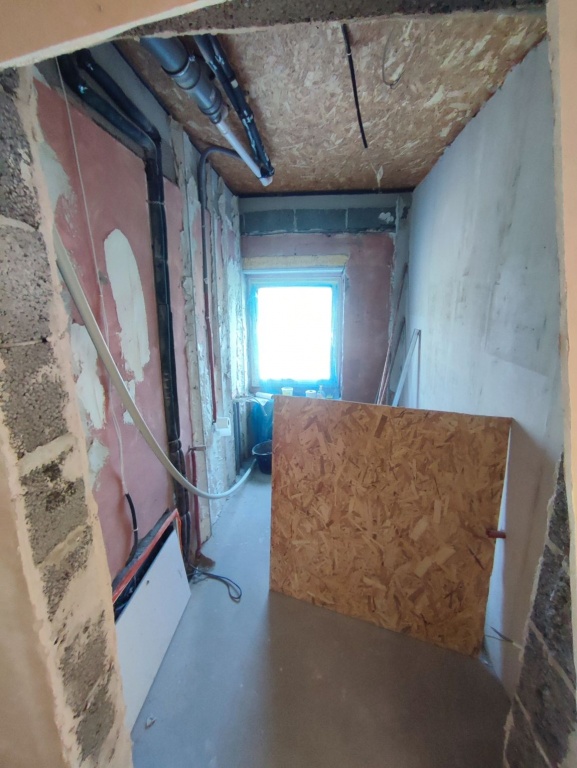
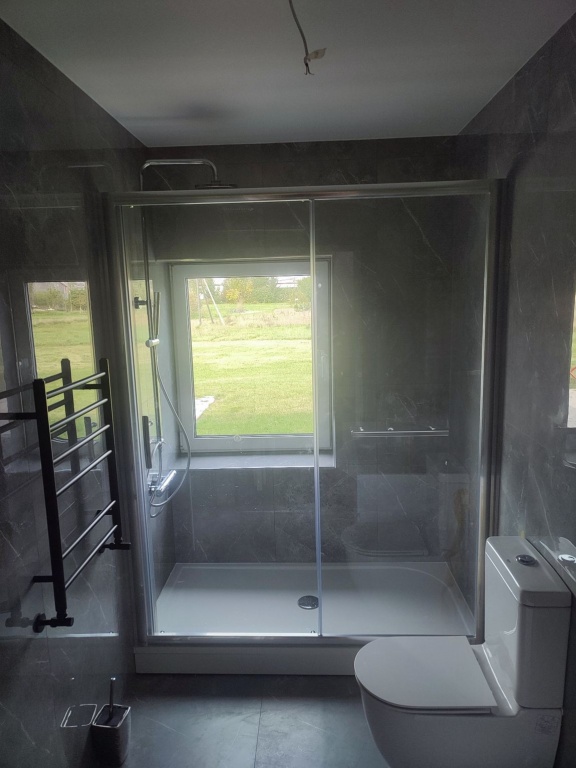
Work Completed
● Wall levelling
● Waterproofing application
● Installation of large-format 120 × 60 cm tiles
● Installation of a plasterboard ceiling
● Installation of sanitary fixtures and shower fittings
● Final finishing work
A renovated bathroom with levelled walls, waterproofing, 120 × 60 cm tiles, a plasterboard ceiling and installed sanitary fixtures. Grey tiles and a glass shower enclosure create a modern, practical interior.
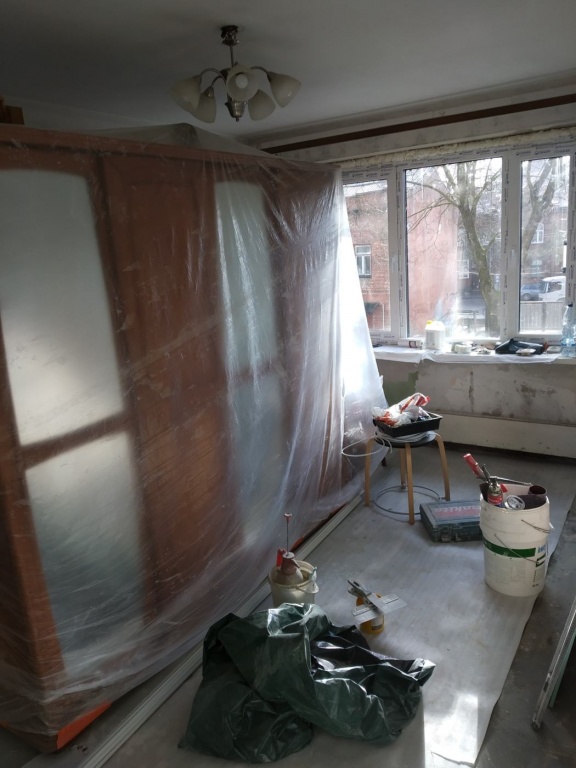
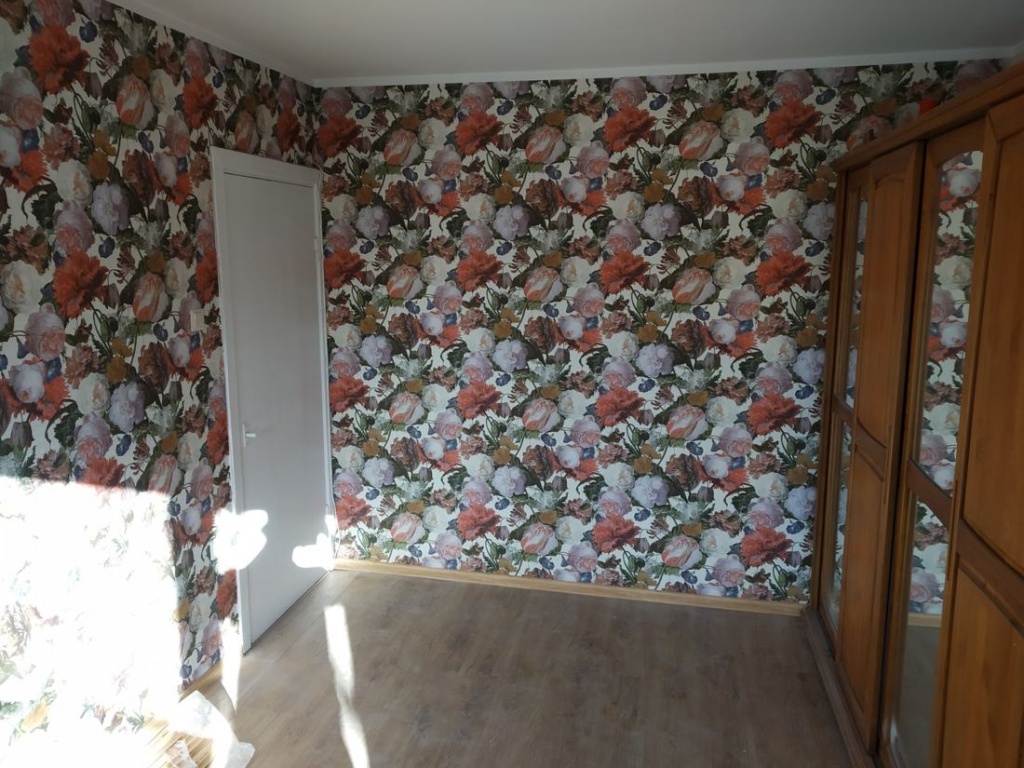
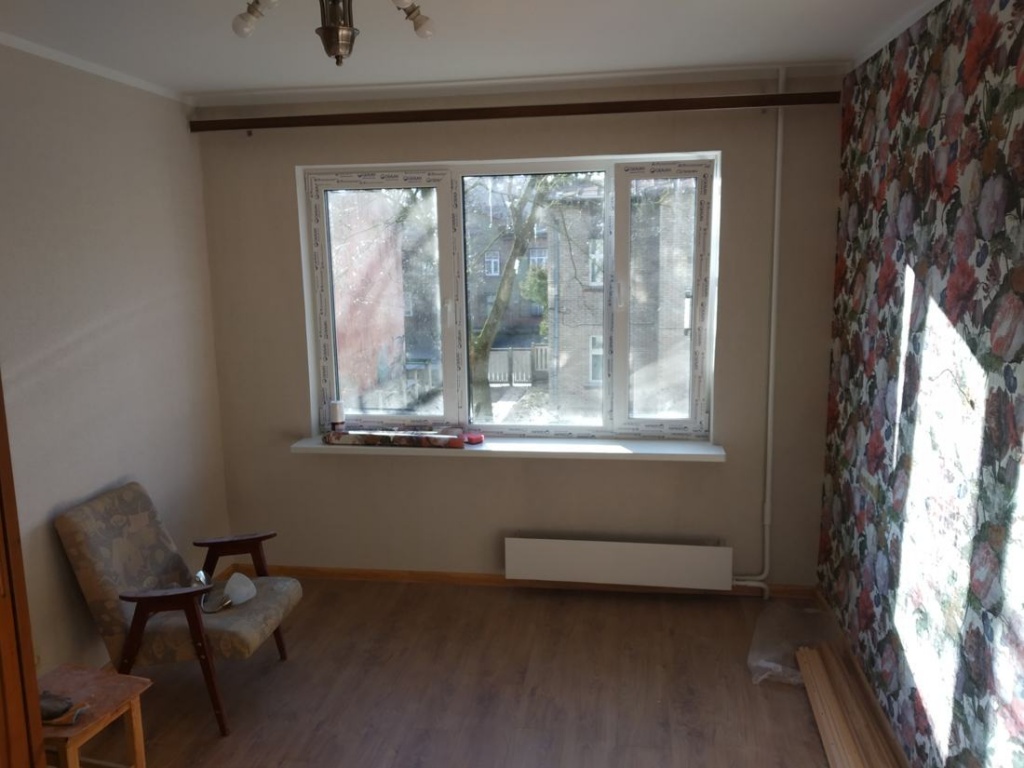
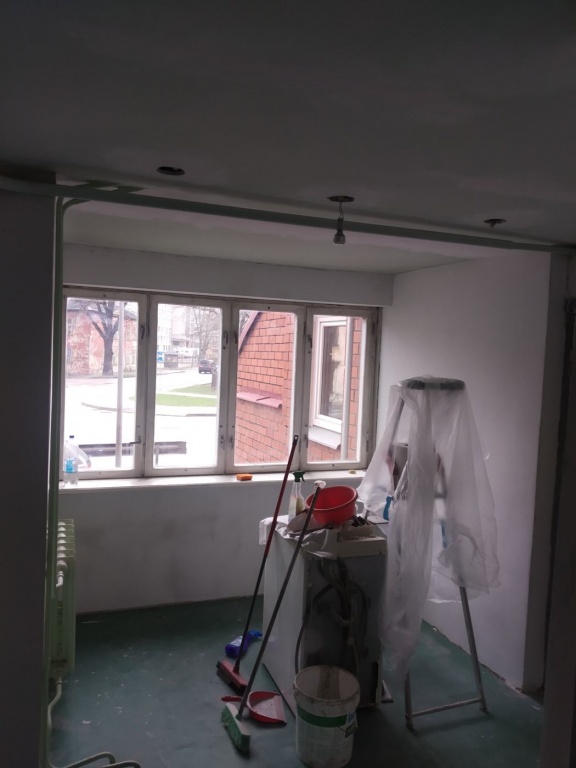
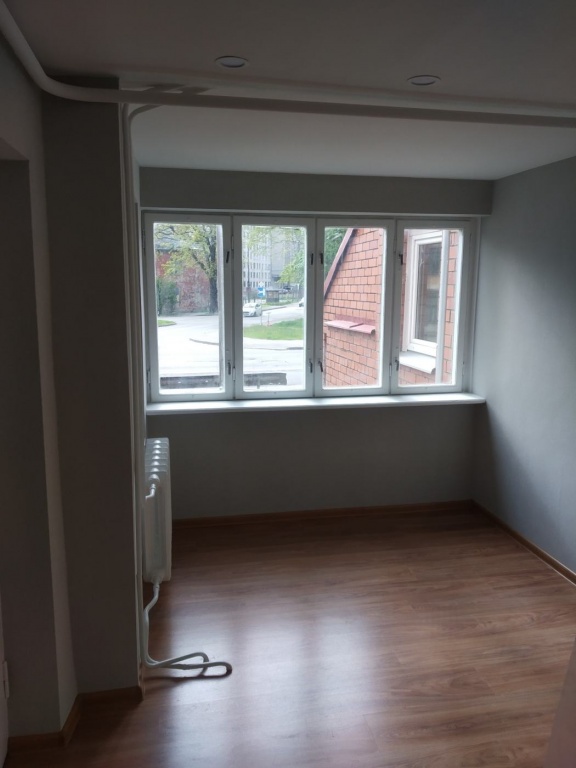
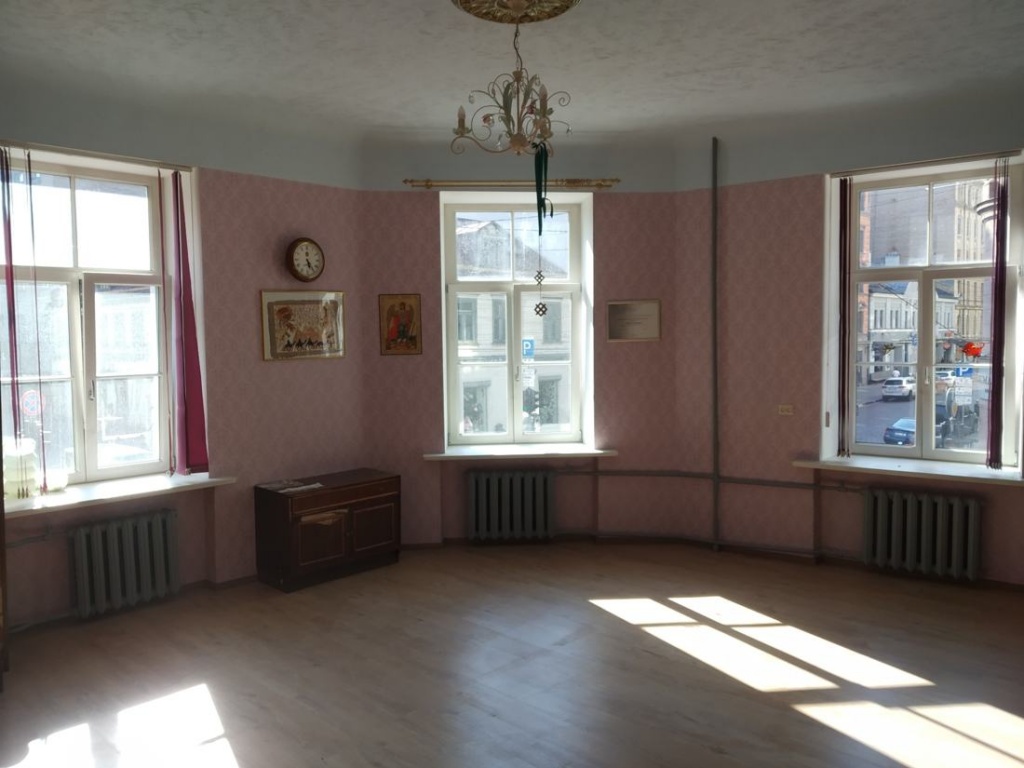
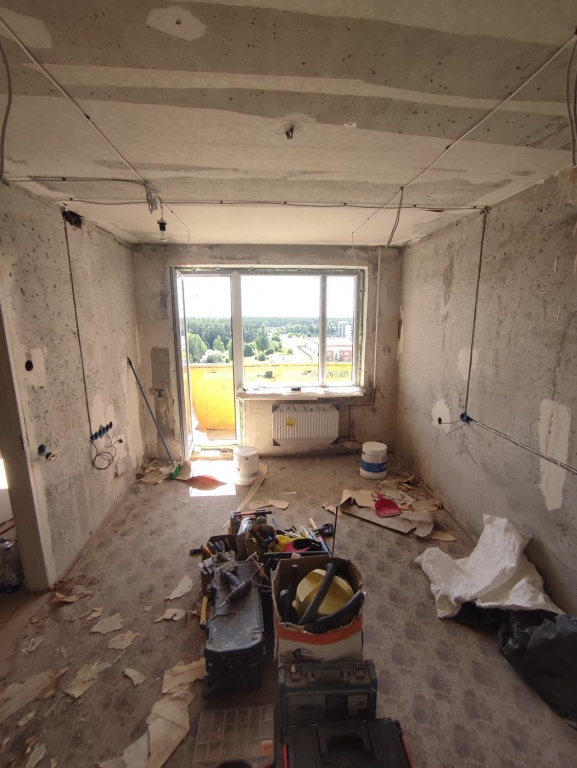
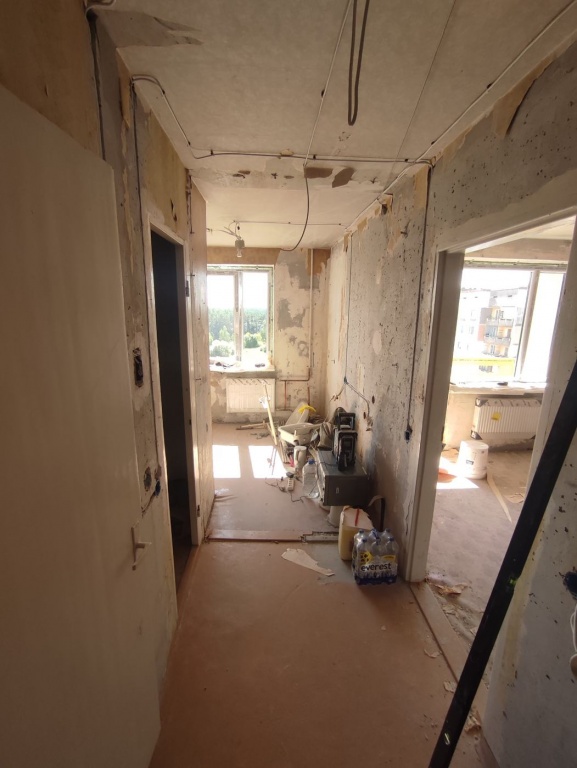
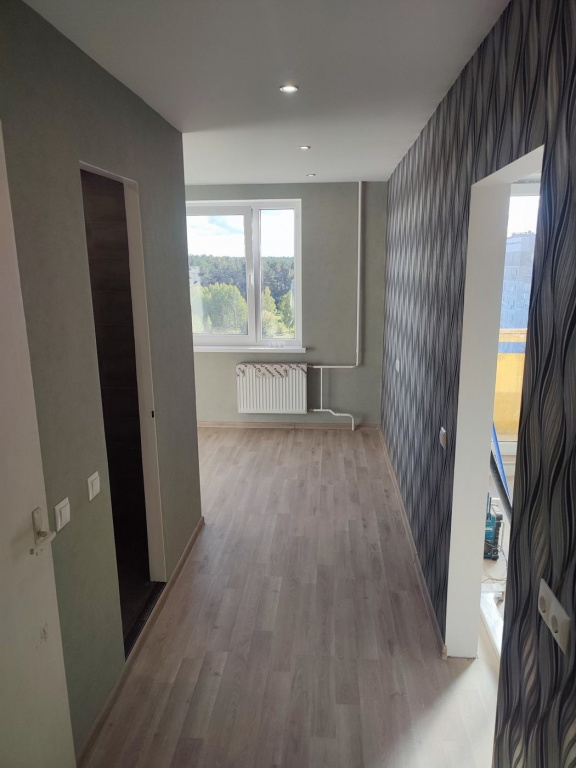
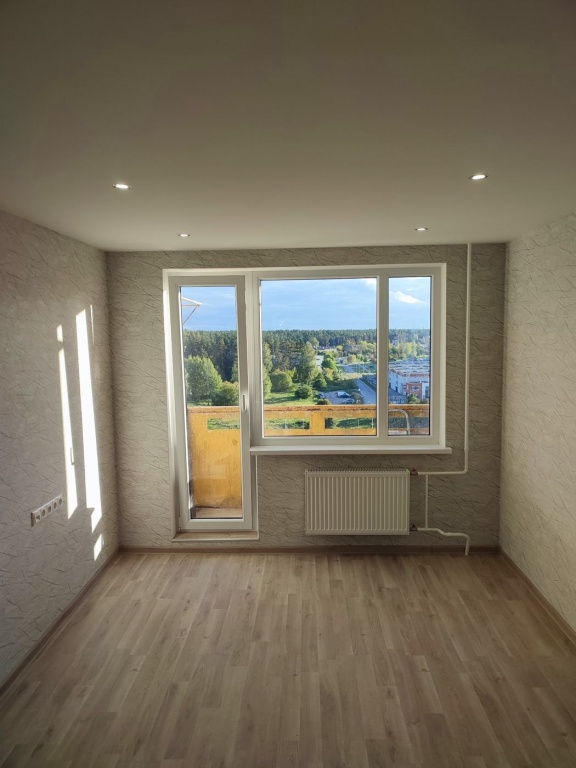
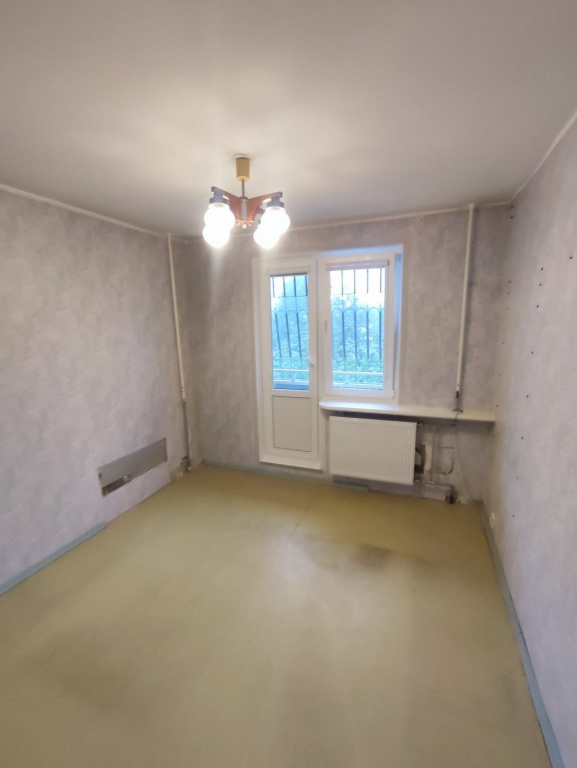
Residential Interior Redecoration – Before and After
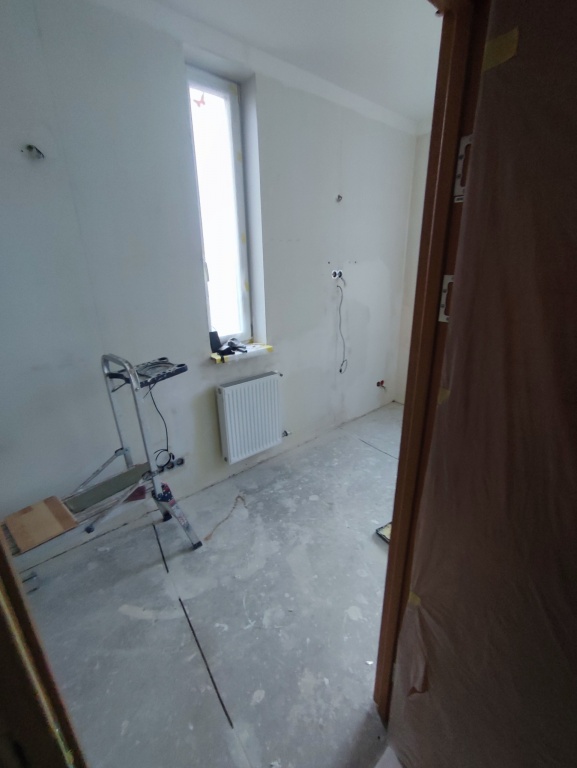
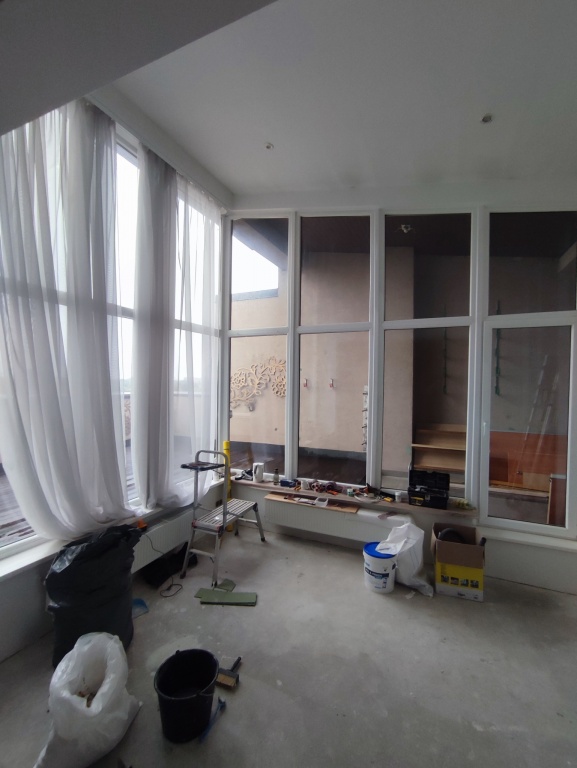
From removing old wallpaper to laying new flooring and completing the wall finishes.
Work Completed
●Removal of old wallpaper
●Wall filling and levelling
●Wall sanding and priming
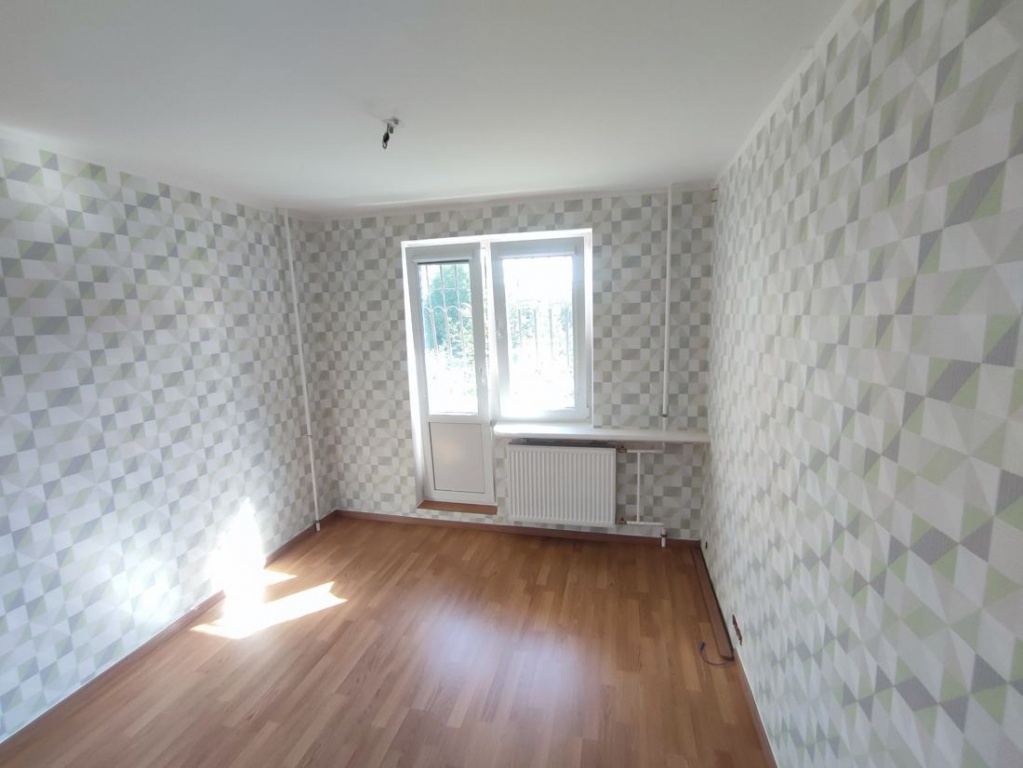
●Installation of new wallpaper
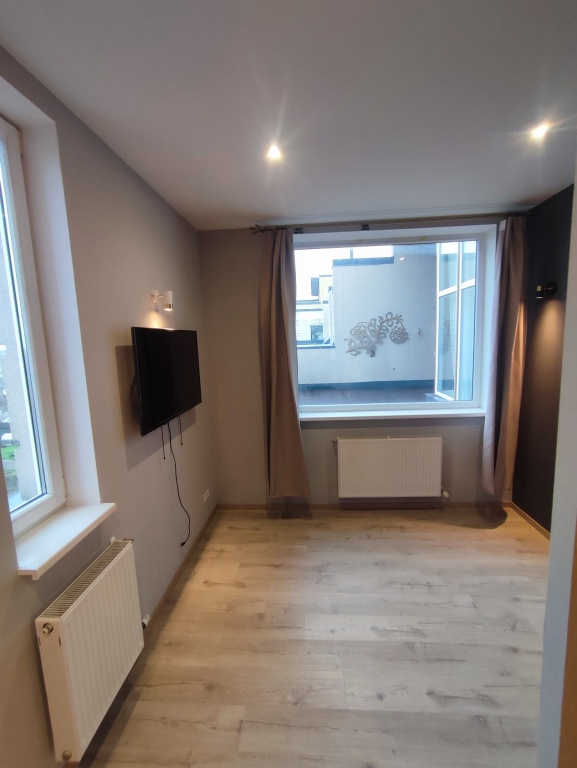
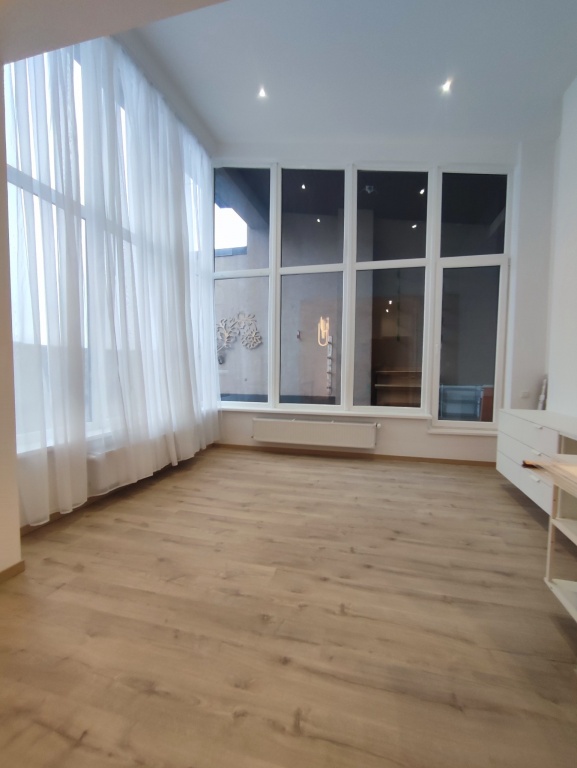
●Laminate flooring installation
●Light fixture installation
●Electrical socket installation
Finished Result
The living spaces have been refreshed with carefully prepared and finished walls, new laminate flooring, and installed light fixtures and electrical sockets. The light-coloured finishes and wood-effect flooring create a welcoming, modern interior.
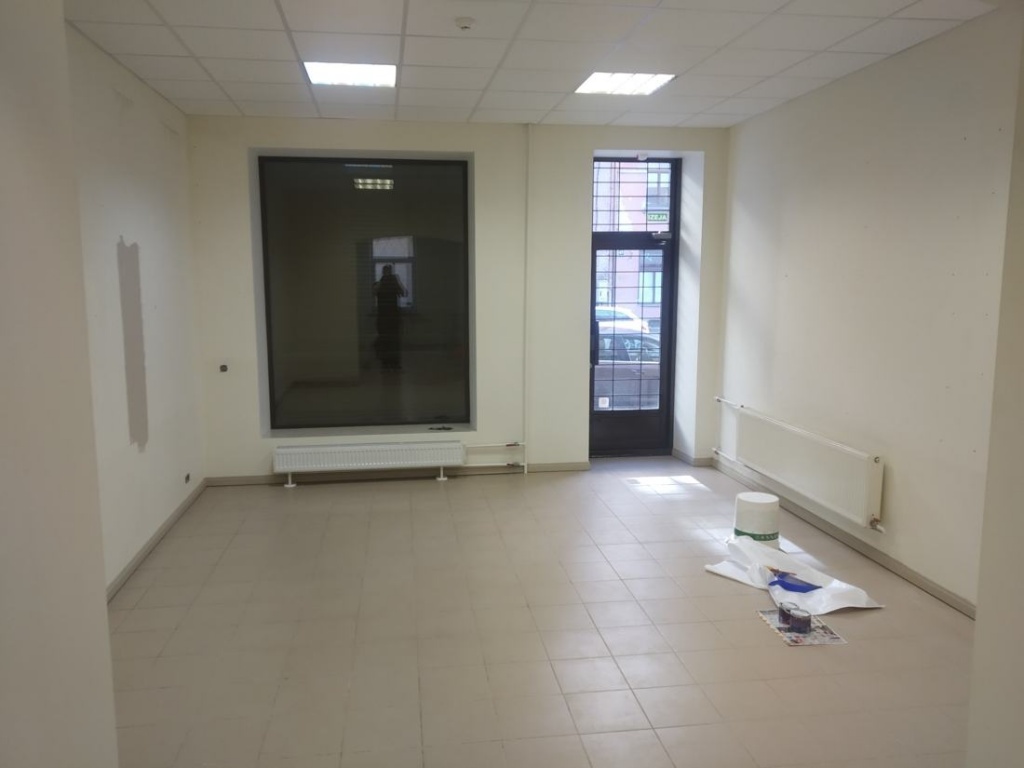
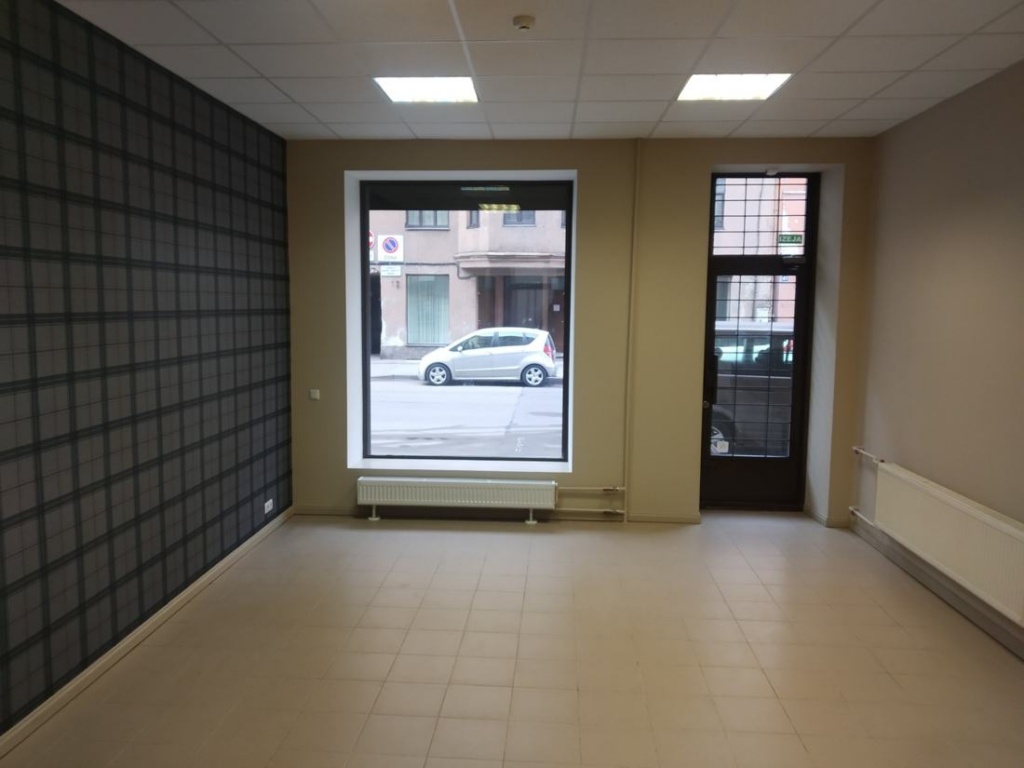
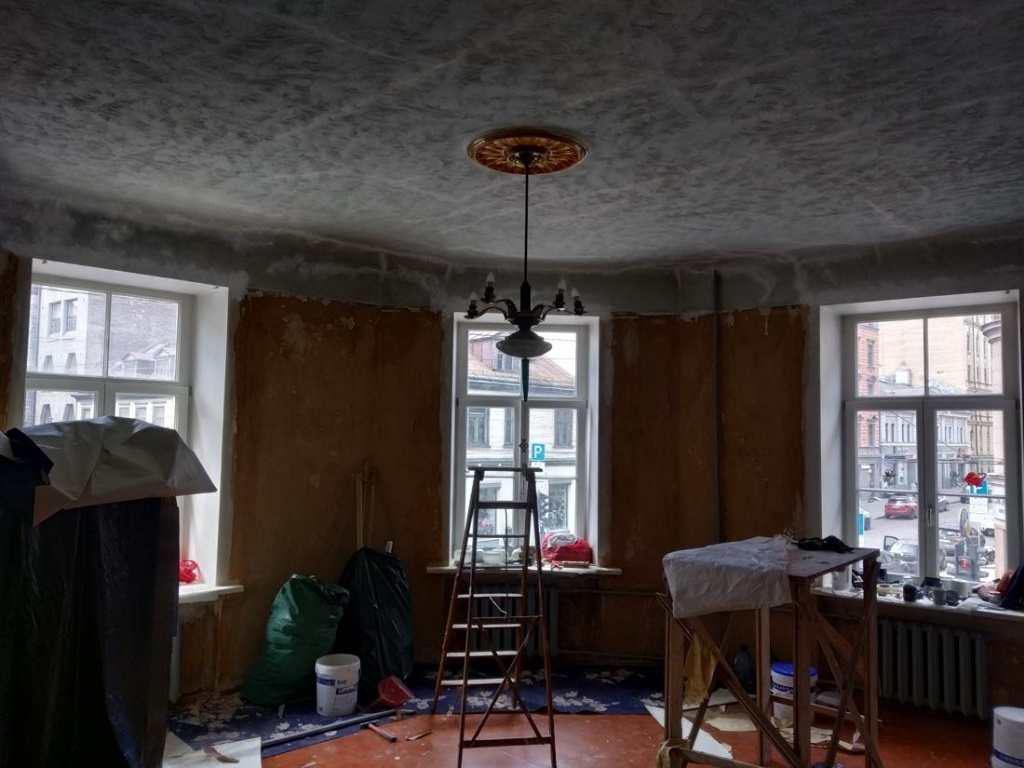
Wallpaper Removal and Installation – Before and After
We removed old wallpaper, applied wall filler and prepared the surfaces for new wallpaper. The result is a neat, high-quality wall finish.
Project Example 01
Project Example 02
Project Example 03
Project Example 04
Project Example 05
Project Example 06
Project Example 07
Project Example 08
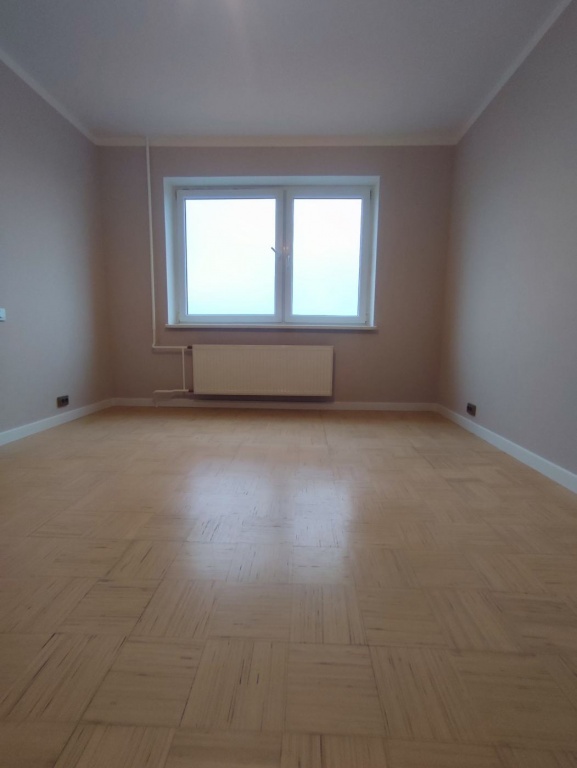
When Plastering Becomes Art!
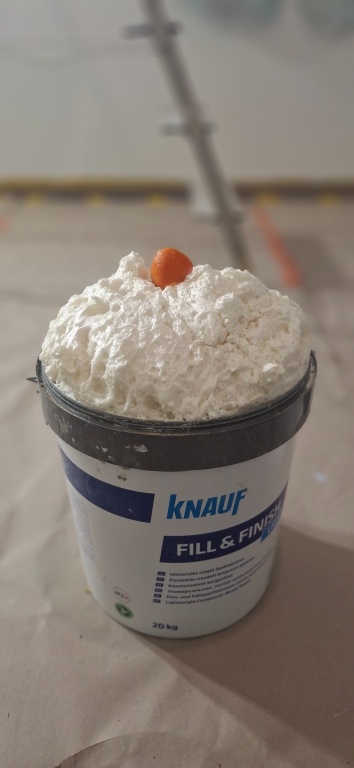
TODAY'S SPECIAL
Fill & Finish Cake
A freshly prepared “dessert” from the construction site — topped with a mandarin!
● Plastering mood: 100%
● Serving suggestion: with a putty knife only